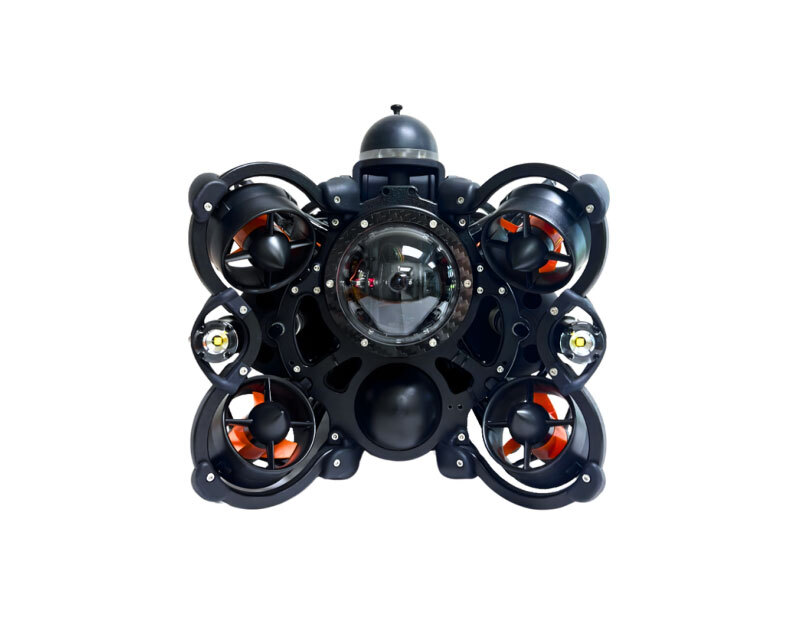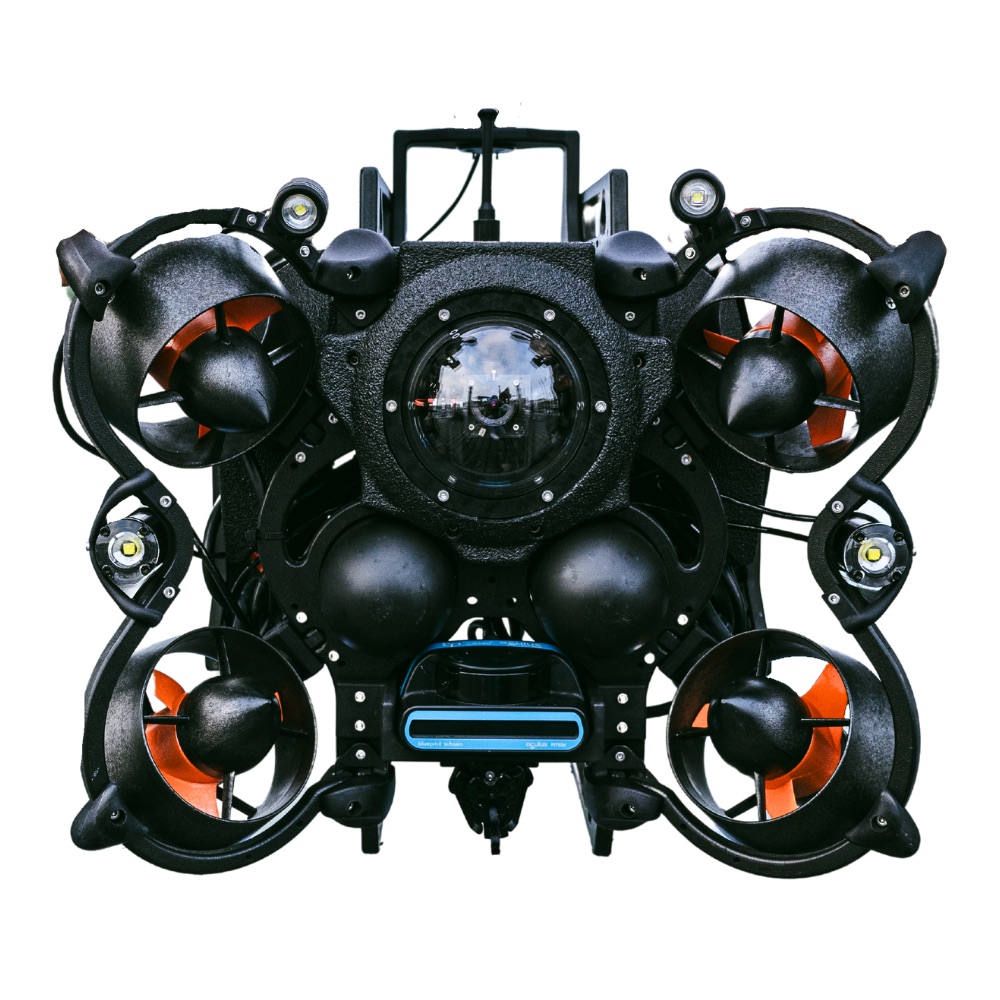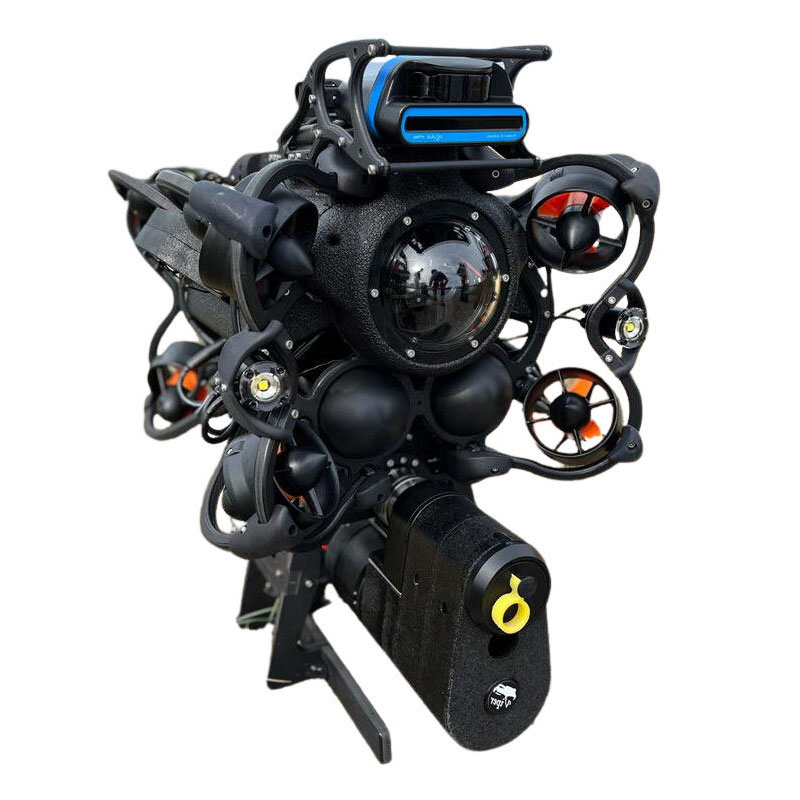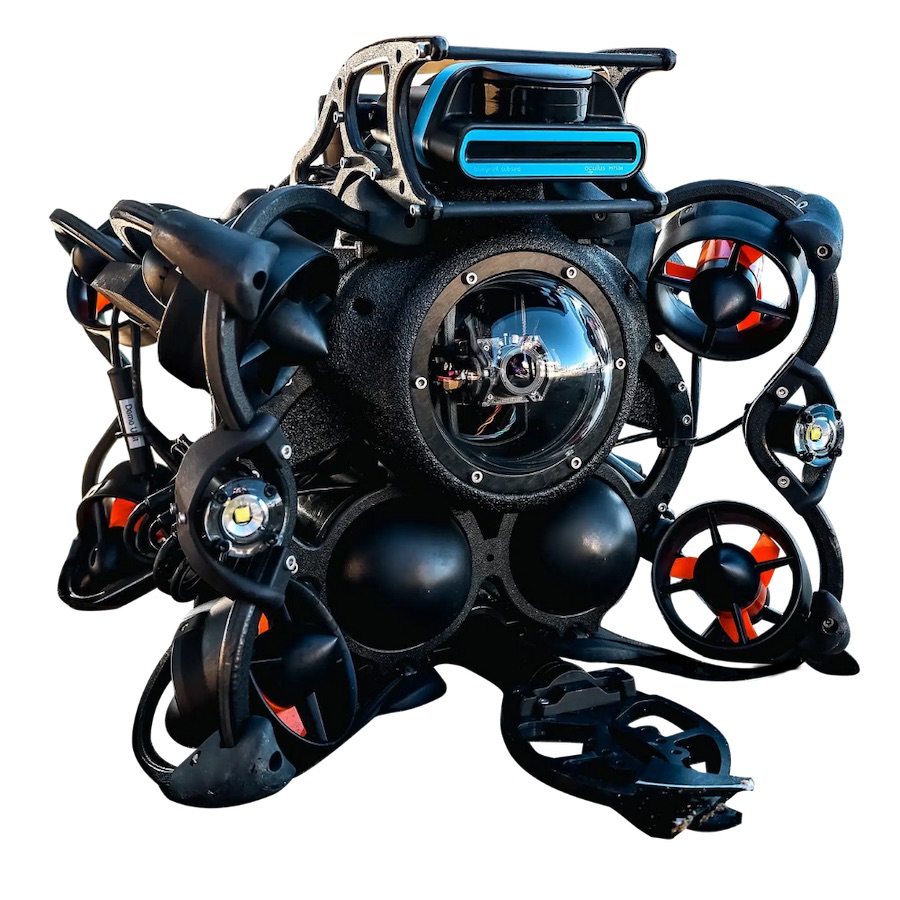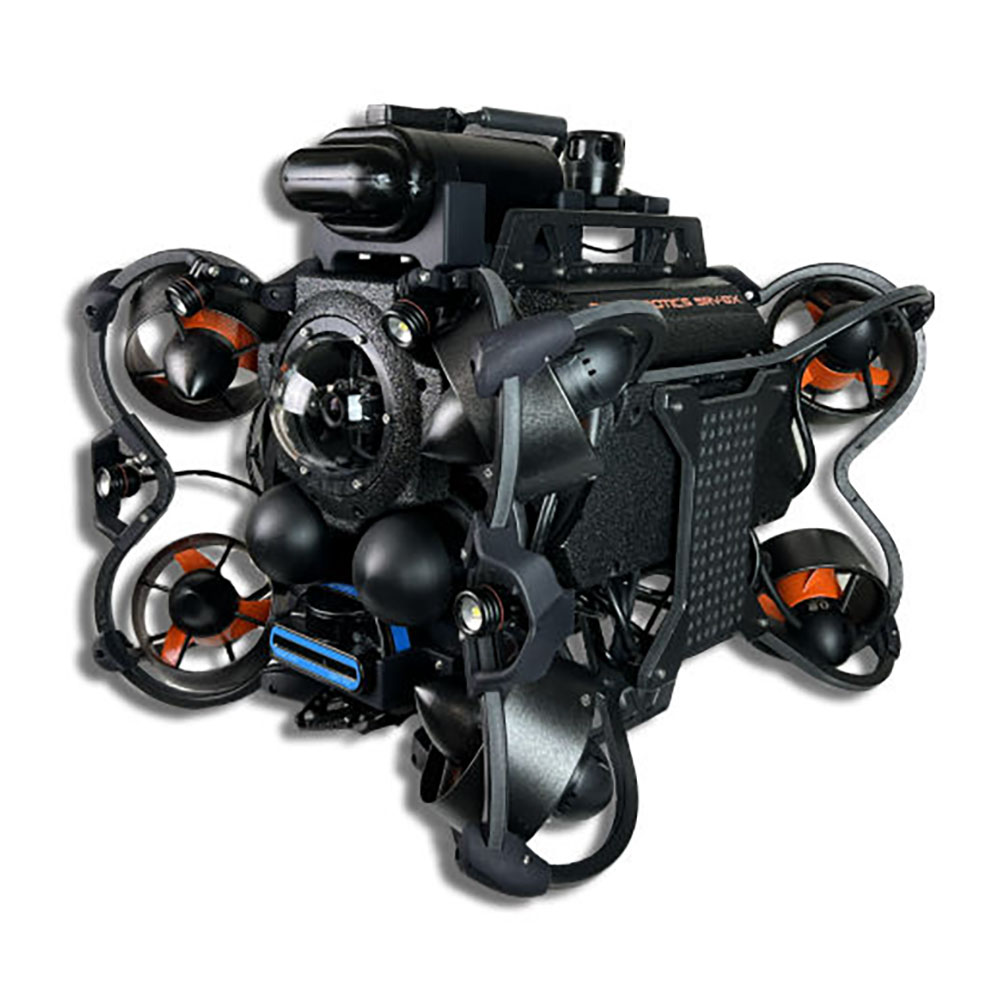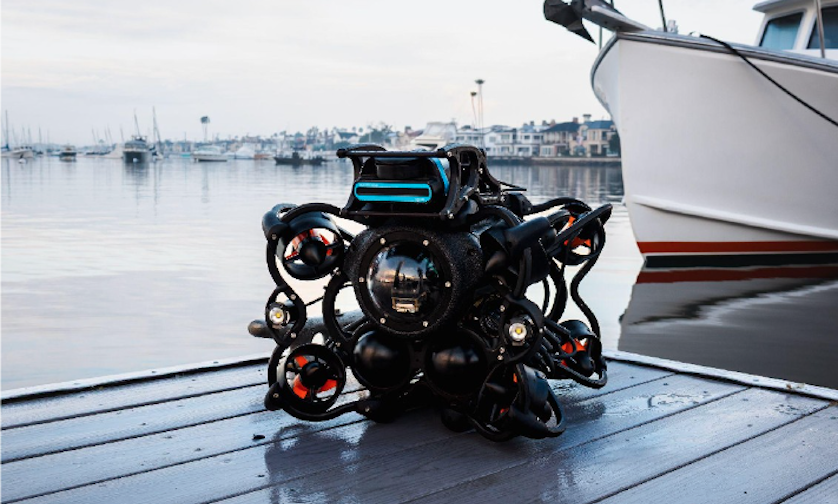

In this step-by-step field guide, Oceanbotics walks you through how to remove and disassemble a thruster on the SRV-8X ROV.
Perfect for SAR teams, military divers, infrastructure inspectors, and commercial operators, this tutorial ensures your ROV stays mission-ready and in top working order.
Tools You’ll Need:
• 1 x 1.5mm hex key
• 1 x 2mm hex key
• 1 x 2.5mm hex key
• 1 x 3mm hex key
• 1 x 1 Phillips-head screwdriver
• Aquashield Lubricant
• Clean cloth or wire brush
Step-by-Step Instructions:
1. Remove Thruster from SRV-8X
• Use 3mm hex key to remove 2 mounting screws
2. Remove Thruster Nozzle
• Use Phillips-head screwdriver to remove 4 screws
• Set the nozzle aside
3. Remove Nosecone
• Use 2mm hex key to remove 2 screws
• Set the nosecone aside
4. Loosen Shaft Collar
• Rotate propeller to align the set screw with the notch
• Use 1.5mm hex key to loosen the screw
5. Remove Shaft Collar
• Gently pull the propeller out — do not pry if stuck
6. Disassemble the Propeller from the Rotor
• Use 2mm hex key to remove 2 screws
• Clean debris from parts using a cloth or a brush
• Re-lubricate rotor with Aquashield for smooth operation
7. Reassemble
• Follow all previous steps in reverse order