
Remotely operated vehicles (ROVs) are used across a wide range of sectors, including defense, search and rescue, offshore oil and gas, infrastructure inspection, and marine research. They provide a safer, more efficient, and cost-effective alternative to conventional methods.
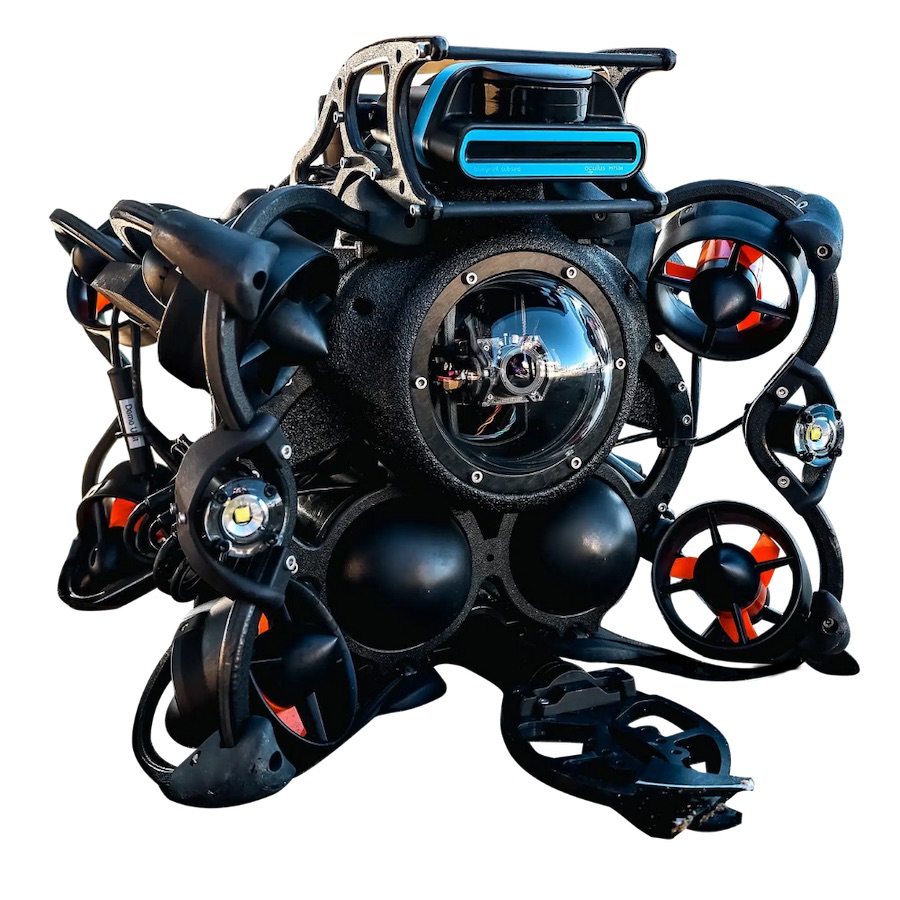
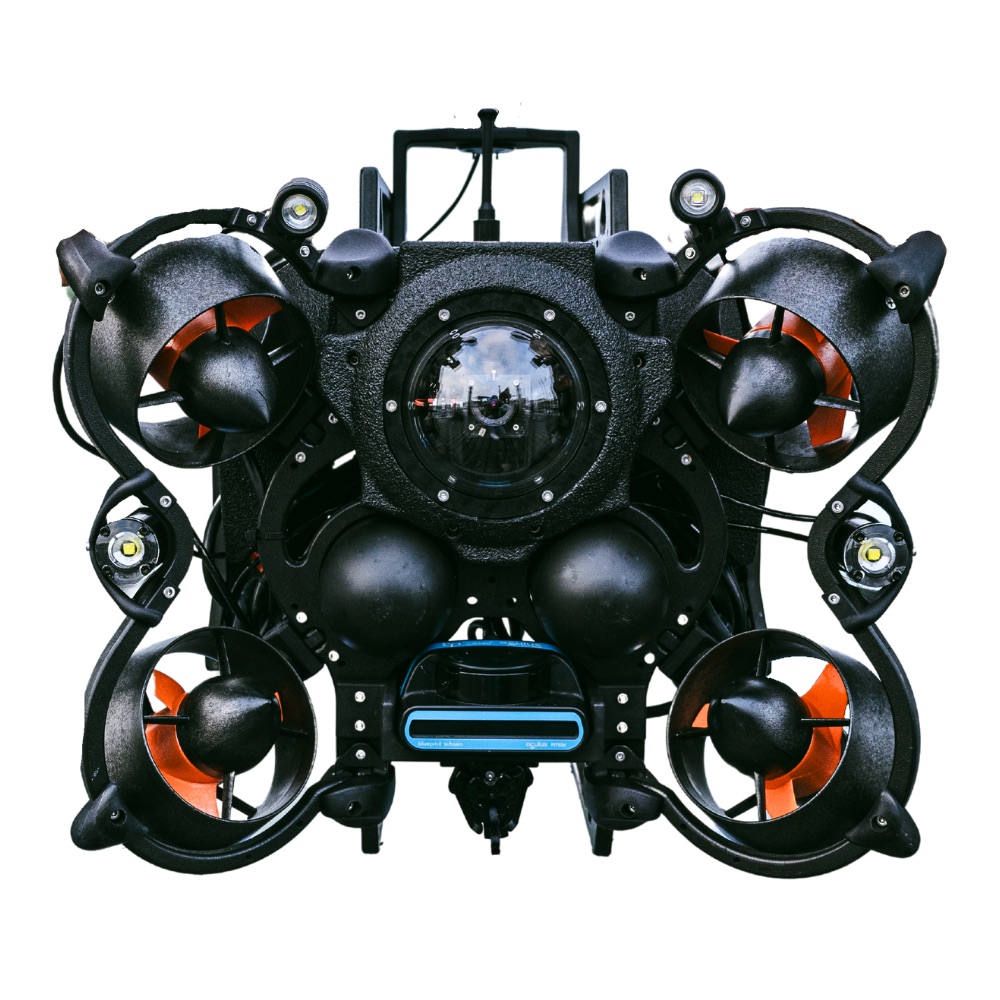
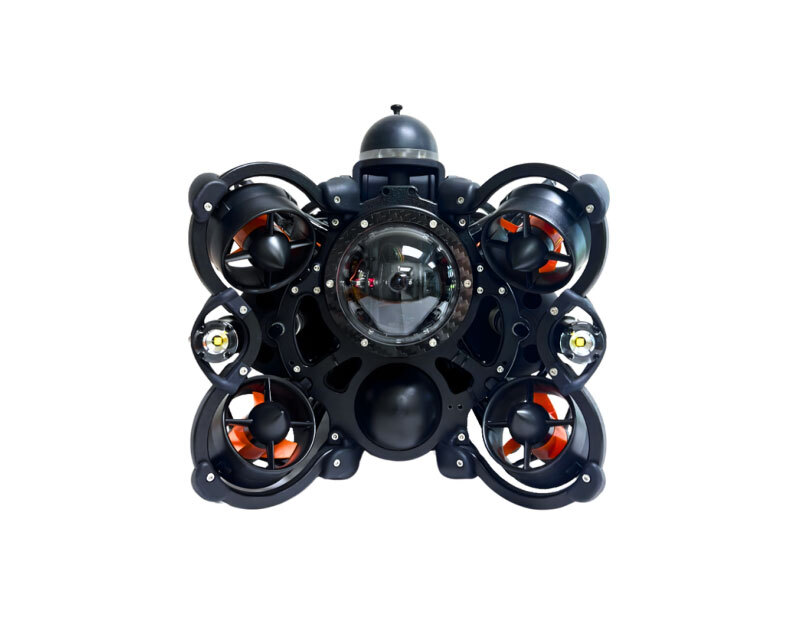
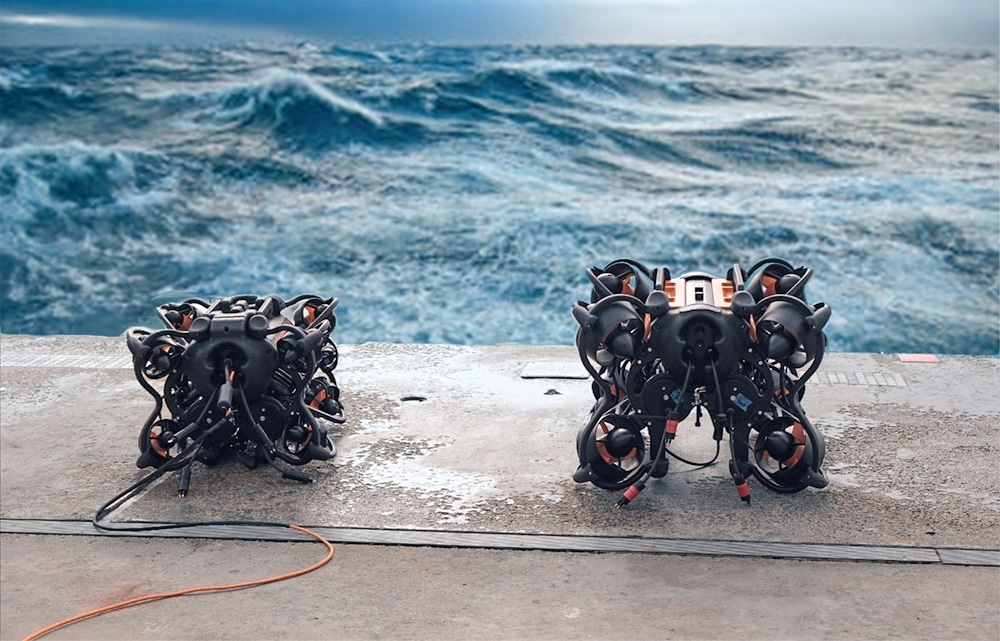
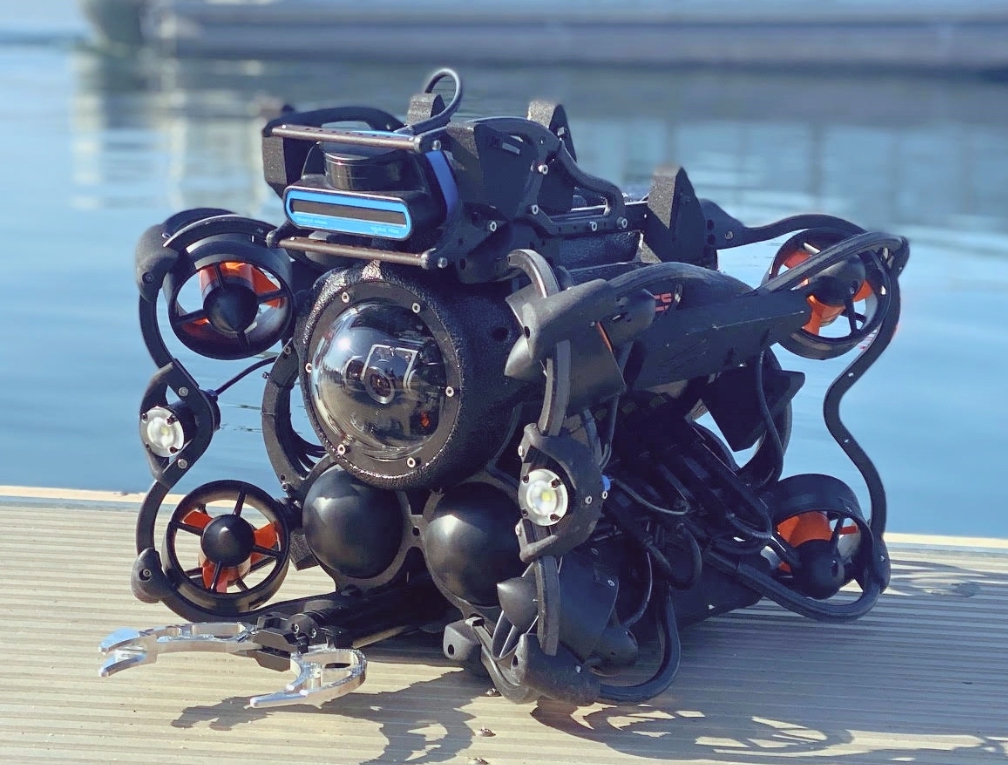
Inspection-class ROVs, such as the Oceanbotics SRV-8, support operations including object retrieval, pipeline inspection, underwater monitoring, evidence collection, and scientific research.
This guide outlines the steps required to set up and deploy a professional-grade inspection ROV. The full procedure takes less than three minutes.

Inspection ROV overview
An inspection ROV is a compact, professional underwater system designed for tasks in marine and freshwater environments. These units are typically portable and deployable by a single operator.
Despite their small size, they support a range of mission-specific tools such as imaging sonar, USBL positioning systems, additional cameras, and robotic arms. This versatility makes them suitable for various underwater applications.
Setup & Deployment Procedure
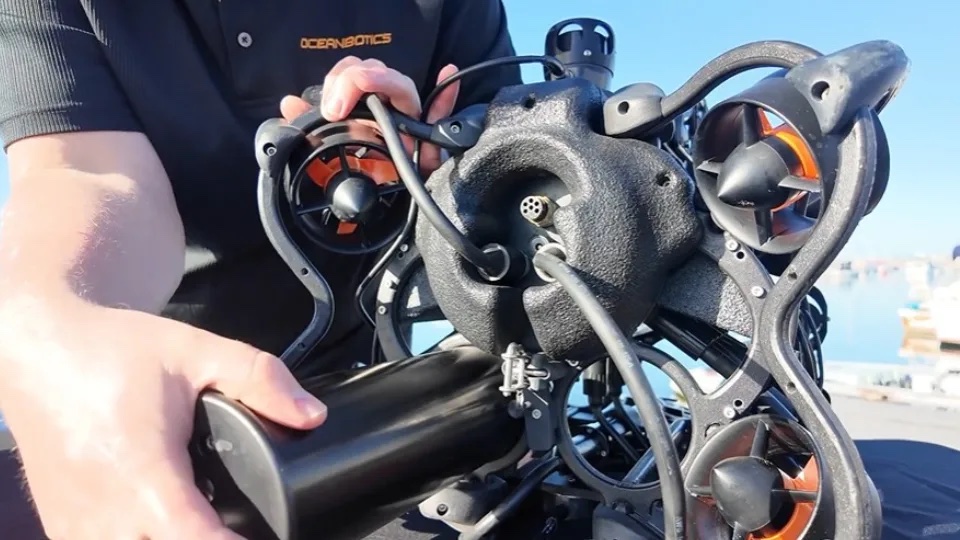
- Insert batteries – Place both batteries into the vehicle, ensure they are locked in place, and connect the battery leads. Turn the power switch on.
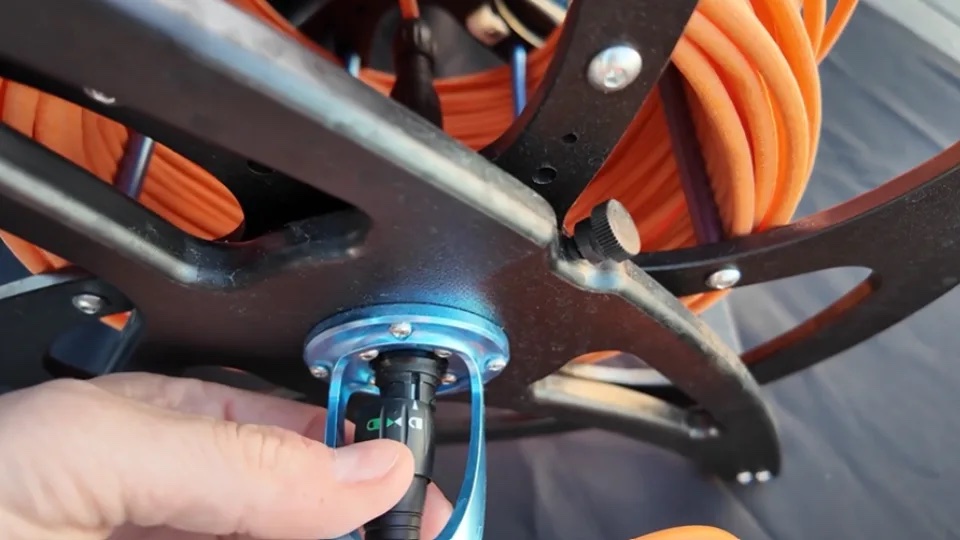
- Connect tether and strain relief – Insert the tether into the ROV’s tether port. Secure the tether loop in the locking sleeve.
- Connect patch cable – Link the patch cable between the tether reel and the DIM Box.
- Connect DIM Box to laptop – Use a USB-C cable to connect the DIM Box to the ruggedized laptop.
- Connect controller – Plug the controller into the laptop.
- Launch software– Open SubNav OS and connect to the ROV.
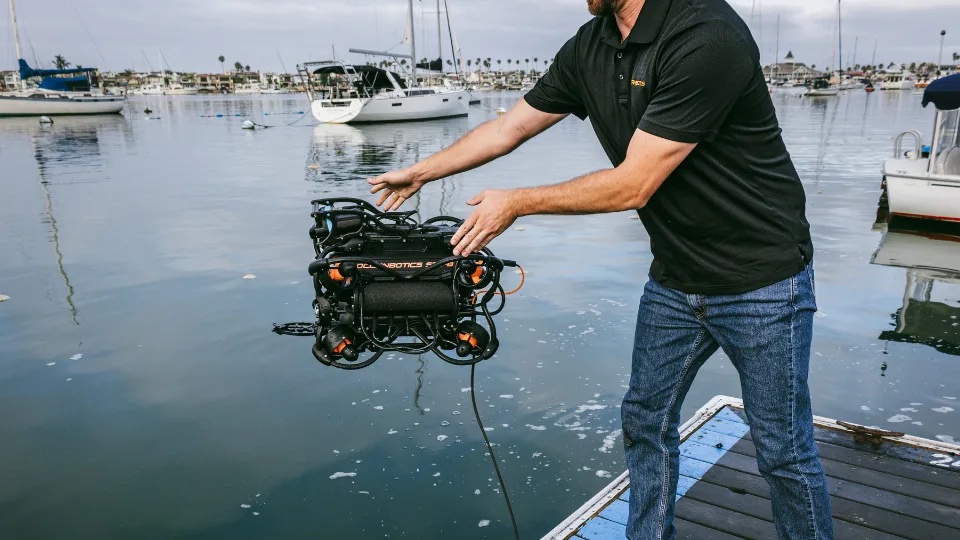
- Deploy – Lower the ROV into the water and begin operations.
These systems are designed for quick deployment and straightforward operation, minimizing setup time and training requirements.